Thru Hull Fitting Replacement and Upgrade on Our Boat
5 View
Share this Video
- Publish Date:
- April 29, 2021
- Category:
- Liveaboard Yachting
- Video License
- Standard License
- Imported From:
- Youtube
Tags

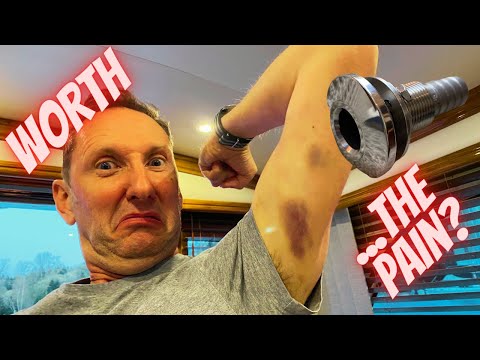
It's time tackle a job we've been putting off for a while, the thru hull fitting replacement and upgrade on our boat. We have a working slip at Queen City Yacht Club that is available for members that gives you a 300 degree work around the boat with total access to the waterline of the bow, port and starboard side of the boat. We are going to replace the plastic thru hulls with stainless steel since the ones on our boat are plastic and deteriorating. But first we have some homework to do. We made masks for the thru hulls so it doesn't leave a mess once we put the 4200 around it to seal it as well as protect the outer layer of the through hole from getting any caulk on it. So we cut out painters tape to fit each thru hull. We used Groco stainless steal thru hulls as well as the Groco tool that has graduating notches for all of the different size thru hulls. There are 25 of these bad boys! If you were going to purchase them at West Marine it would cost $1500 USD! We were able to go online and get them from Ultimatepassage.com and Iboats.com since neither of them had all of the different sizes that we needed, we were able to get them for about $550 USD! Prices are starting to get insane for all of the new inventory so if you can find new old stock that is where we were able to find these. Prices are getting kind of silly and I think we got lucky be fore the rush starts. My advice is if you have a project is to get it done now or at least order the parts now because the supply chain stinks.
Each piece had to be cut out and the hull had to be cleaned with RELEASE adhesive and sealant remover before installing the thru hull.
The first real curve ball is that the 5/8 flange is the same size as the 3/4 inch. The problem is that the plastic ones that came with the boat are smaller. The problem is that we have to drill them out but there is no way for a guide since the hole is already there so we have to make a guide. So we made a guide with some extra starboard that we had on board from a previous project. Then we can drill out the larger hole. Good thing we had some of this on board since there are 5 of these that we have to make.
Next we put some dielectric grease on the barbs of the thru hulls, since they were a little bit bigger and the other plastic ones didn't have, and the heat it up with a heat gun to make sure that is was a tight fit.
It was a full 12 hour day to get all 25 of them installed and it was worth it. Now its time to get the boat all cleaned up.
0:00 opening
1:41working slip
1:47 Groco thru hulls and tool
4:49 masking the thru hulls
7:25 removing old thru hulls
7:45 old plastic thru hull removed
8:27 thru hull installation tool
8:30 curve ball with solution
10:00 guide hole solution
10:15 Pro tip
10:56 attaching hose to thru hull
12:07 completed project
Boatlife Release BAT Supplies
Groco thru hull installation tool
Groco thru hulls
Note, as Affiliates, if you use the links above to purchase these products the Elli-Yacht may receive compensation that goes towards our production of this channel. Thnx, Jon & Karlynn
By: Elli-Yacht
Title: Thru Hull Fitting Replacement and Upgrade on Our Boat
Sourced From: www.youtube.com/watch?v=XRlyq4CINXY
Did you miss our previous article...
https://topcruisedestinations.com/liveaboard-yachting/we-are-live-for-q-amp-a-ask-us-anything


